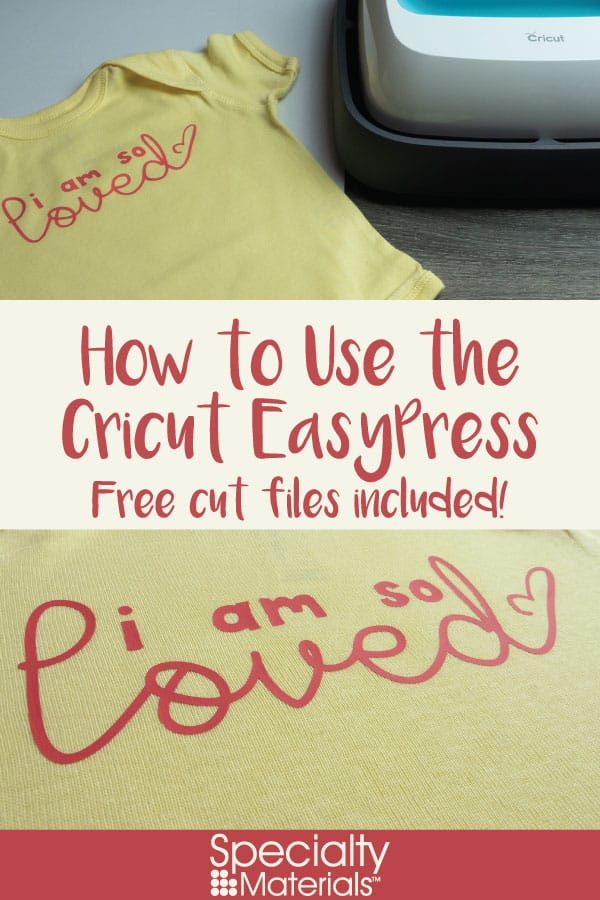
How to Use the Cricut EasyPress
Just got your Cricut EasyPress and non certain what to do? Read this guide to get started pressing with ThermoFlex® Plus!

A question nosotros often get about our products is how to adhere them. Heat press or hand iron? Which is better?
A heat press is usually the best style to apply heat to our heat transfer vinyls. All the same, those can run expensive and accept up a good bit of room. They tin can be a scrap daunting for someone merely getting started in oestrus transfer vinyl!
Some people use hand irons, but unfortunately they oftentimes don't get hot plenty. They as well don't allow for firm, uniform force per unit area. If you don't have plenty estrus and pressure on your vinyl, it will only fall off in the launder! 😱 So what's a person to do? Why, try the Cricut EasyPress, of class!
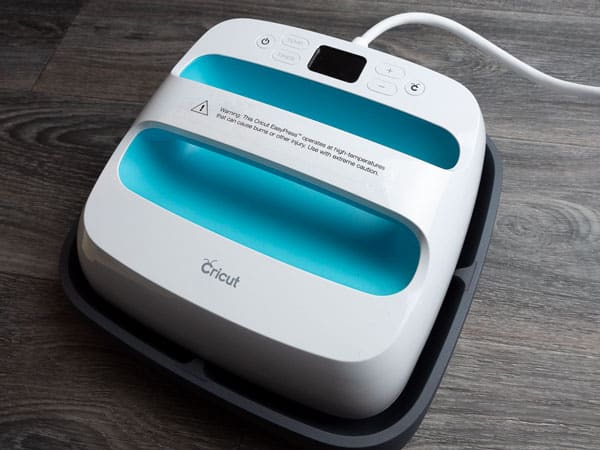
The Cricut EasyPress is a heart ground between heat press and manus iron. It can get hotter and is heavier than your average iron. Information technology takes up less space and costs less than a rut press. Want to larn how to use yours with ThermoFlex® Plus? Let's become started!
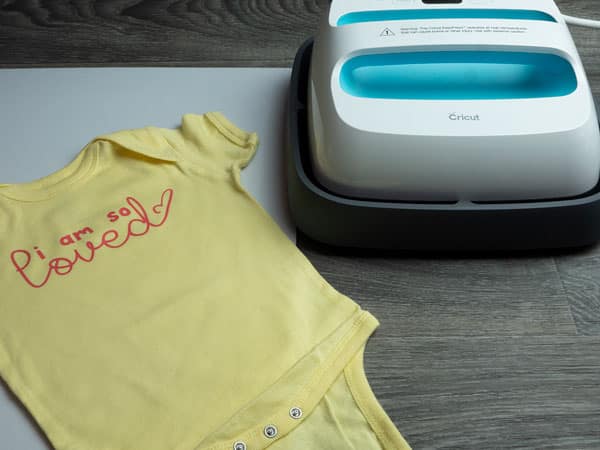
Make sure your pattern is sized properly earlier yous cutting your material. We're pressing on a 12 month baby onesie today, so we set our dimensions to vi″ wide.
Let'south get that EasyPress turned on! Luckily, the EasyPress very much lives up to its name and information technology's very easy to apply.
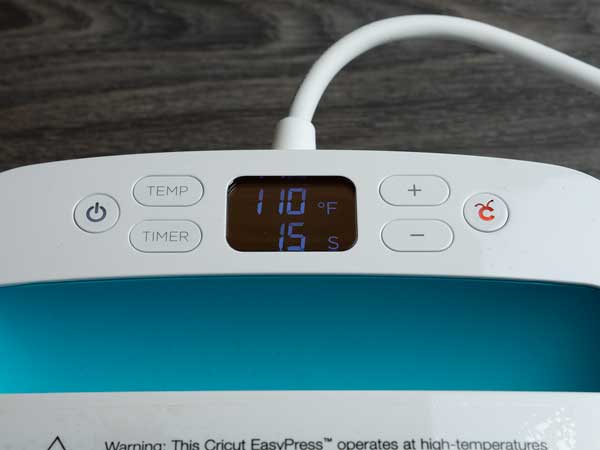
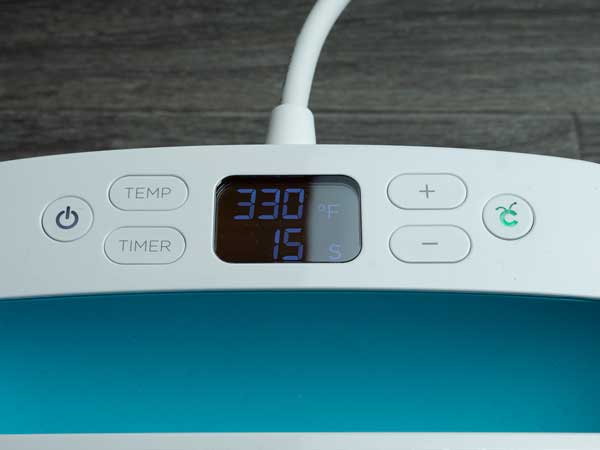
Click the power push on the left hand side to turn on. To gear up temperature, click the "TEMP" button and use the + or – buttons to turn it up or down. To set the time, click "TIMER" and exercise the same thing!
For ThermoFlex® Plus, set up your printing to
Temp: 330° F
Fourth dimension: 15 sec
The EasyPress will beep at your when it's fully heated. Practise yous see the Cricut logo on the right hand side? It's ruddy when information technology's not heated and light-green when it'south at the right temperature. The EasyPress heats up crazy quick, so you won't exist waiting long. Exit information technology on its insulated base while it heats.
While the EasyPress heats up, let'south get fix to press!
Yous'll need a rut resistant surface to press on. This is important, as the EasyPress can get up to 350° F- yous don't want to fire your tabletops! We had a large cream pad that is rut resistant effectually, simply if you lot don't have one, Cricut sells pressing mats. We exercise Non recommend using a pressing pillow- they create an uneven surface and practice not permit for a expert press.
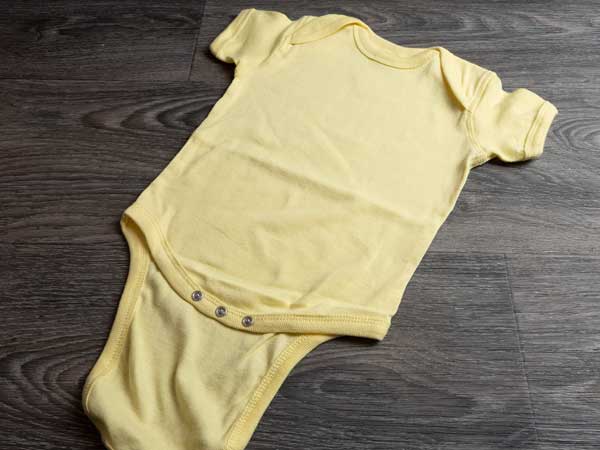
Grab your shirt (or, in this case, onesie) and place it on your heat resistant surface. Smooth out the wrinkle and get set up to press!
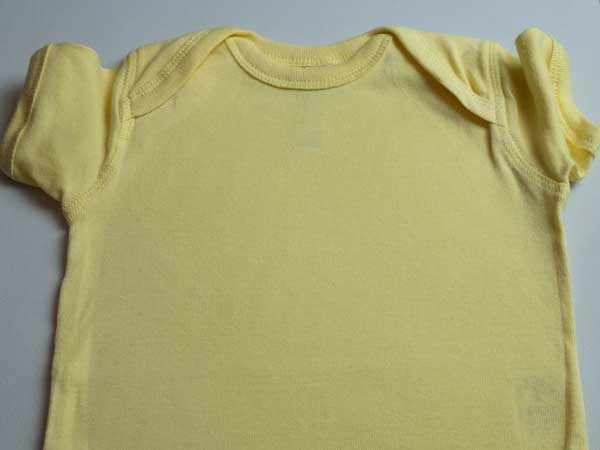
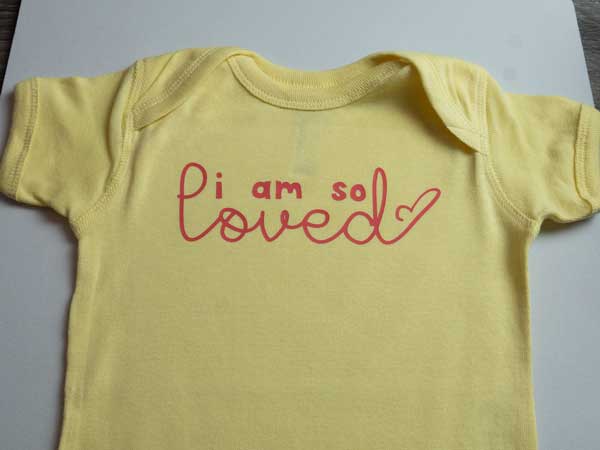
Now for the exciting part! It's time to press your design. First, pre-printing your garment without the design. This smooths out wrinkles and allows for better adhesion. We pre-pressed for nearly 5 seconds.
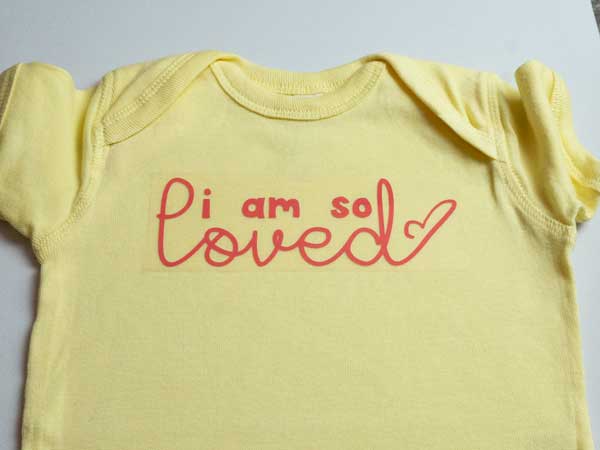
And then, get your design lined up the way you lot'd like it. Here nosotros put the blueprint about 1″-i 1/2″ below the neckband.
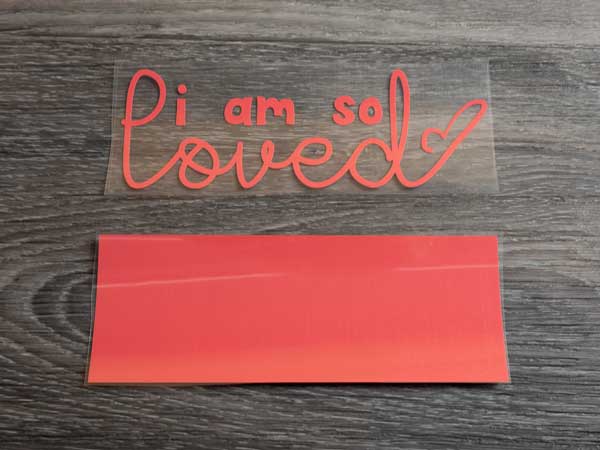
ThermoFlex® Plus has a sticky carrier, so it'll stay in place well. Now it'southward time to printing! Nosotros're going to want to make certain we go enough pressure- the EasyPress gets hot enough but pressure's just as important every bit heat!
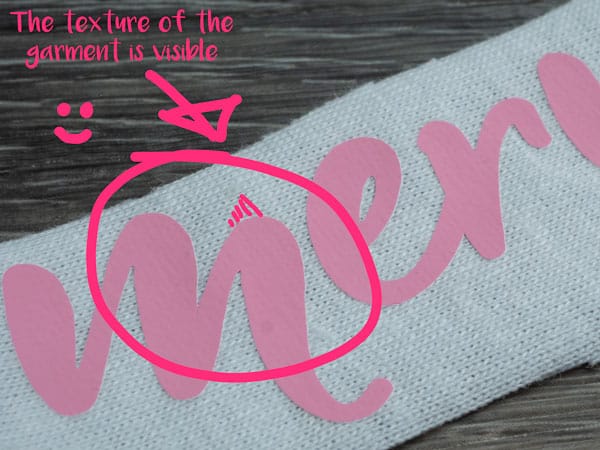
Here nosotros have some close upwards shots of ThermoFlex® Plus subsequently i press with an EasyPress. The tiptop picture does NOT have plenty pressure. Y'all can run across the Plus has an uneven texture and looks lumpy. If your Plus looks similar this after pressing, Printing Again and lean on it a lilliputian harder this time. Otherwise it'll just come off in the wash!
The second pic is ThermoFlex® Plus with proper pressure. When y'all press Plus correct, you tin meet the texture of the garment through the Plus. This is what we're looking for in our press!
Once your press is all ready to go, carefully identify your EasyPress on your blueprint. Press the green Cricut push (this starts your timer) and press down on the EasyPress. We leaned on it a scrap to give it a little extra pressure level. In one case your timer goes off, remove the EasyPress and put it back on its base. ThermoFlex® Plus is a warm peel, then practise a quick 2 2nd repress.
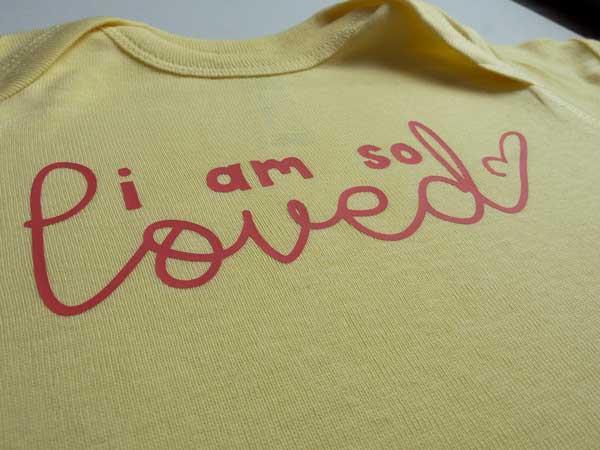
Our onesie did have folds at the top that changed how our pressure was distributed- we did have to press a few times to go good adhesion and try a few dissimilar placements of the EasyPress. Our sample nosotros pressed on a flat, even surface pressed perfectly fine the first fourth dimension.
And with that, we're washed! Our ThermoFlex® Plus is properly adhered and ready to exist worn!
At the end of the day, a rut press is always going to be the best mode to press your garments. That's because you can become a regular, fifty-fifty pressure which will give you lot more consistent results. But the EasyPress is a fabulous alternative for those just starting out!
While y'all're here, don't forget to check out ThermoFlex® Plus! We have over 100+ colors- click below to see the total listing!
Questions? Comments? Bulletin u.s.a. over on Facebook and we're happy to help! If you apply this file and you upload pictures, please tag them #lovewhatupress! We ever love seeing what y'all make with our products. We hope this has been helpful and informative. As always,
Disclaimer: Specialty Materials & Digital Decoration, LLC is not associated with Cricut, Inc.
Like this web log post? Share it with friends!
Desire to exist in the know about our latest products and colors? Sign up for our mailing list!
Follow the states on all your favorite social media!
Source: https://specialtymaterials.com/how-to-use-the-cricut-easypress/


0 Response to "How To Set Timer On Cricut Easypress"
Post a Comment